Back in 2018, Paul Cunningham wrote an article about how to deploy the Microsoft Teams client. Since 2018, there have been hundreds (if not thousands!) of changes to the Teams service and clients, so we decided it was time to take a fresh look at client deployment.
First, Choose Your Installer Package
The Microsoft Teams desktop client installer is available for Windows on x86, Windows on ARM, macOS (for both Intel and Apple Silicon), Linux, and mobile devices.
- The macOS and Windows installers are available from Microsoft here. This is normally the version that end-users will download and install themselves.
- An MSI package for Windows is also available in x86 and x64 versions. This package is suitable for automatic deployment but works a little differently than the setup.exe package, as you’ll see in the demonstration below.
- For the few people using Windows on ARM, there’s an ARM64 MSI package available; it works the same way as the x86 and x64 Windows MSI.
- The Linux installer is usually deployed using a package manager such as apt. To get install packages, go here, then use your preferred package manager to install any required dependencies.
Whichever method you use to deploy Teams, the installer runs in the context of the logged-on user and installs to the %userprofile%\AppData\Local\Microsoft\Teams folder. Windows users don’t need elevated permissions to install the client but macOS users will.
It’s important to note here that Teams is a self-updating application, and it will check for and download any available updates each time the user runs the program. As long as you allow Teams to self-update, it’s simple to maintain, so deploying Teams is basically a task of just running the installer once and then not running it again. If you block Teams from self-updating, Microsoft warns that your Teams experience will likely degrade, and you’ll miss newly released features and performance improvements.
Read More: How to Manage Microsoft Teams – An Admin Guide
Preparing to Deploy Microsoft Teams
Before you deploy the Teams client, you should verify that Teams in your Office 365 tenant is configured the way you want it. From there, every Teams user will of course need a license. Because Microsoft has added Teams licenses to the E5 and E5 license packs (and their government and academic equivalents), your users probably already have the required licenses. However, you can also use Azure AD group-based license management or another method to assign licenses for users who need them.
Before you read any further, you should know that you may not need to deploy the Teams client, as Microsoft began including Teams in the Microsoft 365 Apps for enterprise beginning with version 1902. That was released in 2019, so unless you have actively blocked Teams installs, the normal automatic update mechanism for Microsoft 365 Apps would have installed the Teams client for you.
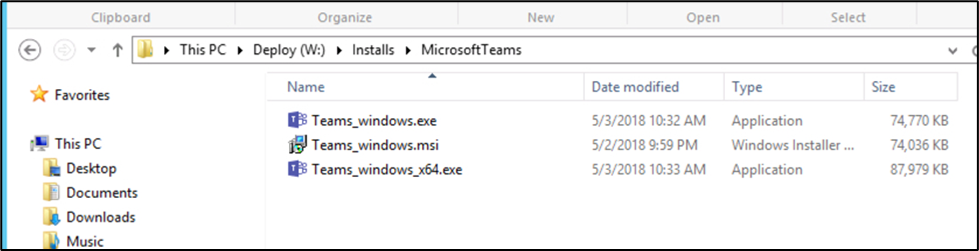
If you’re still reading, your next step should be to download the Microsoft Teams MSI installer using the links above, then place the files on a network share that users and computers can read from. For this demonstration, the installer will be running from the path \\mgmt\installs\MicrosoftTeams (Figure 1):
If you deploy an old package, the Teams application will self-update automatically. However, you should keep your deployment share updated regularly with the latest install packages to save time.
Deploying Teams for Windows via Group Policy
Microsoft used to make a setup.exe bootstrap installer available, but now they’ve standardized on an MSI installer instead. Thankfully, the MSI has all the switches and capabilities we need to handle the common scenarios of pushing a Windows installation out to clients using Microsoft Endpoint Manager, Group Policy, or other similar tools (you can do something very similar for macOS clients using Jamf but that’s a topic for another day.)
The preferred way to deploy Teams using Group Policy is to assign it to a Group Policy Object (GPO) at the machine level. That way the Teams installer will be deployed once to each machine, and when any user logs in the installer will be run to make sure that the user has access to the application.
The MSI package just installs the Teams Installer on the computer, placing it in the Program Files or Program Files (x86) folder, depending on which architecture you deploy. The Teams Installer will then run automatically for new users logging on to the computer and install Teams to their %userprofile%\AppData\Local\Microsoft\Teams folder.
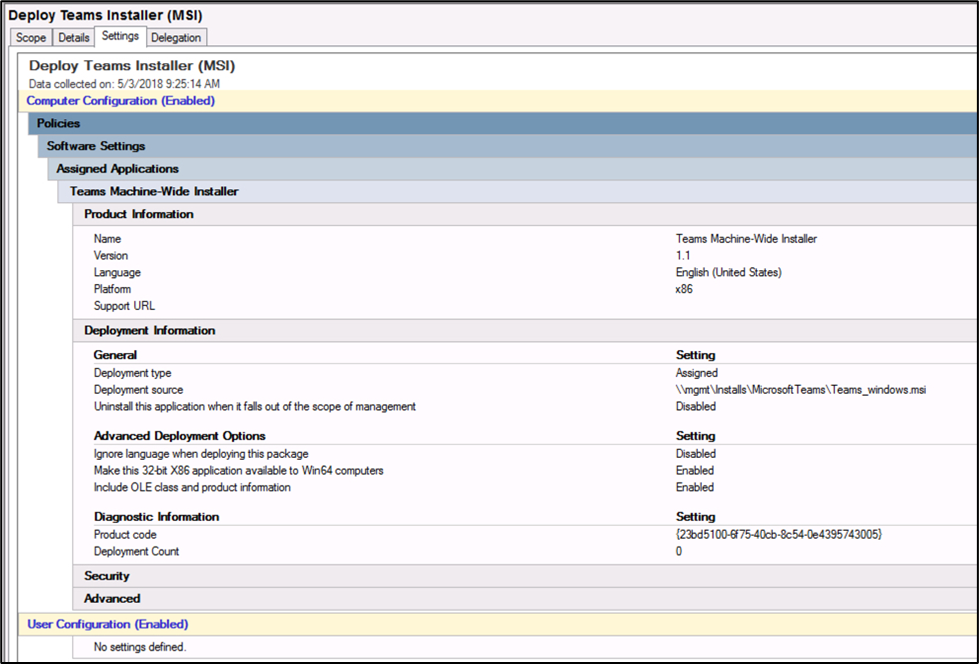
Start by creating a Group Policy and add the Teams MSI package to the Computer Configuration as an assigned application. Next, where appropriate, you’ll need to assign the Group Policy to the target set of machines you want to use (Figure 2):
As long as you’re adding Group Policy settings, you may want to use the setting that will prevent the Teams client from automatically starting when users log in. This is very much a matter of personal preference, and if you’re just now rolling out Teams, it’s a good idea to apply this setting to avoid spamming users with the Teams UI before they’re licensed and able to use it.
***Note that if you’ve previously deployed Teams using the setup.exe package, or the user has previously installed Teams themselves and then uninstalled Teams later, the Teams installer will not reinstall the application due to the presence of leftover files. Microsoft has provided a cleanup script that you can run to remove the leftover files, and then the Teams installer should be able to successfully install the app for the user.
After Teams has installed, it will automatically launch for the user and prompt them for their sign-in credentials.
Read More: How to Manage Teams Apps and Permissions
Summary
Microsoft has provided multiple software packages for Teams so that we can choose the best deployment method for our environment. The MSI is suitable for Group Policy or SCCM /Microsoft Endpoint Configuration Manager deployment, and it’s also an effective way to pre-stage the Teams application on newly deployed computers. The installer is smart enough to detect existing installs and avoid reinstalling on uninstalled systems, and the self-update capability also means that Teams requires very little maintenance over time.
This is an updated version of an article originally published on March 15th, 2017, and first updated on May 3rd, 2018.